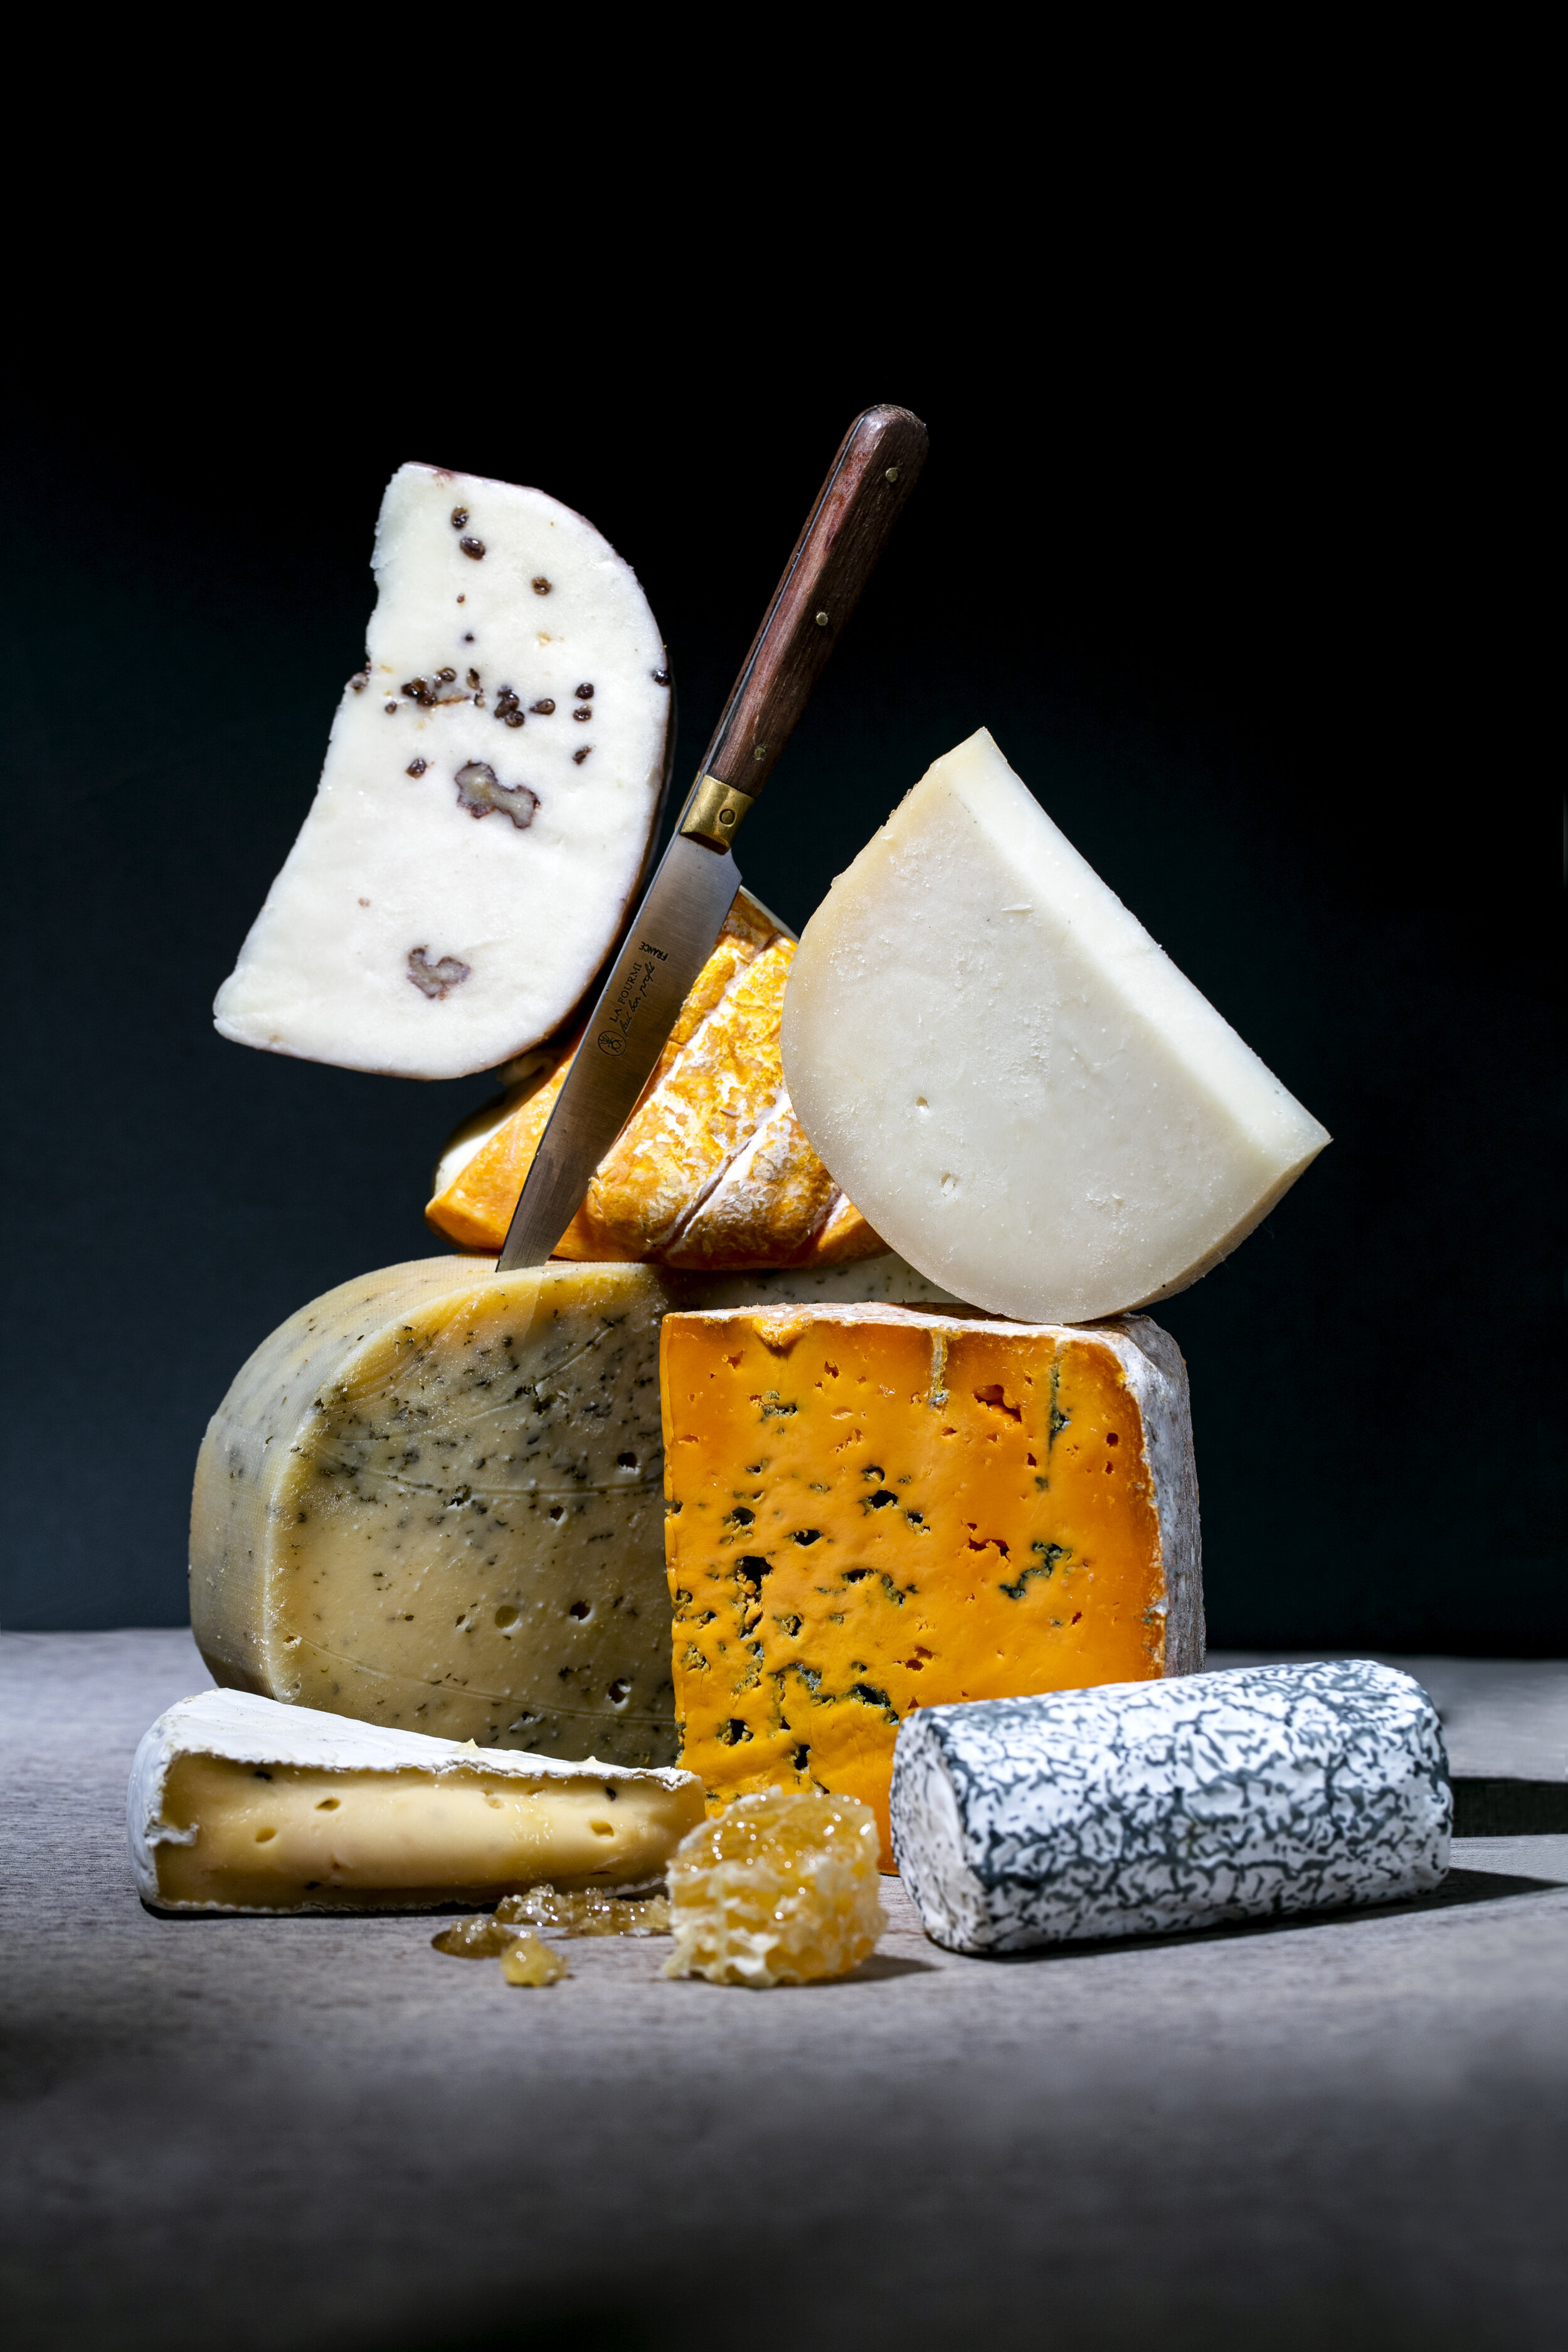
How to create the perfect NZ Cheese Platter
Want to wow your guests with a fab NZ Cheese Board? Follow these simple tips to help you put together a knockout cheeseboard combining different flavours and textures – one worthy of New Zealand Cheese!
The basics at a glance
Decide on the New Zealand Cheeses you want to feature and gather interesting and delicious local ingredients to enhance the cheeses.
Use fresh, seasonal ingredients - they are full of flavour - and seasonal also equals affordable.
Bunch individual ingredients together – they appear more luscious and tempting.
Put small dishes and bowls on the board or platter, then arrange the cheeses. Think about how grouping flavours to match the cheeses, e.g place the Piccalilli alongside the aged Gouda.
The board or platter
Choose a board or platter that will hold a good selection of ingredients. Think about the number of people sharing your cheeseboard to gauge size.
Give texture to the board before placing ingredients – a sheet of torn baking paper, scattered fig leaves or grapevine leaves, when in season.
Use small bowls or dishes to hold ingredients where there is liquid involved, such as olives in olive oil, chutneys or relishes.
Knives and spoons
Offer a different knife for each cheese. This keeps the character of each cheese separate as well as not having to continuously pass one knife around.
Put a small spoon in with the Piccalilli and have one for the small olives.
New Zealand Cheeses
We’ve used a wonderful selection of locally-made cheeses on our board. Of course you can use larger pieces and less variety, but remember to mix up the varieties to provide flavour and texture.
Bringing cheese to room temperature is essential to give the best eating experience. Up to four hours is generally the recommended time, with the exception of fresh cheeses where up to 30 minutes is plenty.
Crackers and bread
Oat crackers are a favourite with cheese. Locally made Rutherford & Meyer Canterbury Linseed, Pumpkin Seed & Rosemary Artisan Oat Crackers are a must on this cheeseboard.
Breadsticks give texture and interest and are a great accompaniment for cured meat. Wrap a small amount of very thinly sliced Prosciutto around each breadstick.
You can add sliced sourdough bread or oven-toasted bread slices as well as crackers.
Lay out the Platter
Fill spaces with ingredients with flavour, texture and colour. Add a subtle sweetness with Rutherford & Meyer Quince Fruit Paste or you could add, fresh honeycomb. Fresh strawberries refresh the palate and look stunning on a cheeseboard as do raspberries. If raspberries are out of season try replacing them with a handful of whole freeze-dried raspberries.
Dried fruit, such as apricots, figs or golden raisins fills empty spaces as do handfuls of nuts.
Piccalilli adds juiciness and that piquancy we all love especially when paired with the Meyer Fenugreek Gouda or Barrys Bay Maasdam.
A handful of yellow or red cherry tomatoes will add juiciness too.
Finish your cheeseboard with a few sprigs of fresh herbs.
Share & Enjoy!
How to serve NZ Cheese
• Firstly, make sure you buy NZ cheese!
• Take it out of the fridge about an hour before serving to ensure its enjoyed at room temperature – which is perfect for picking up its flavour.
• Remember a single large wheel is a great cheese board by itself – it looks impressive and will command everyone’s attention. It’s not necessary to serve multiple types of cheese.
• However, if you want to serve multiple cheeses, consider a selection of different cheeses. For example, fresh, soft and hard cheese. Or cheese made from different milks e.g. cow, sheep, buffalo, goat or deer.
• When serving multiple cheeses provide one cheese knife per cheese to stop flavours being mixed.
• If you’re creating an antipasto platter, don’t crowd the cheese. Give it a bit of space from savoury accompaniments such as olives, salami, prosciutto, nuts and chutney and or fruit jellies and pastes.
• If you're serving cheese before dinner, consider fresh cheeses or lighter cheeses such as an herb-coated goat cheese or fresh mozzarella.
• If you're serving cheese after dinner, then you can go one of two ways — serve just one rich and creamy cheese. For example a triple-crème cheese and a full-flavoured cheeses blue cheese.
• Serve slices of baguette or crackers in a separate basket or bowl.
• Choose plain sourdough or French baguette or neutral crackers or lavosh to accompany cheese. Breads, crackers and lavosh flavoured with sesame seeds, garlic or herbs can mask the flavour of the cheese. The exception is bread containing walnuts, dried fruit or olives - these are all great with cheese.
• A cheese board is perfect for sharing. However, if you’re serving cheese before desert - as the French do – or at the end of the meal, you can plate the cheese individually for each guest. Each person gets their own plate, and best of all you get to prepare the cheese course before your guests arrive.
How to Store NZ Cheese
Tips for CheeseloversNZ on how to enjoy their Kiwi-made cheese at its best. Cheese is a living food, so it needs some TLC to ensure it always tastes amazing!
Firstly, buy small quantities regularly, rather than in bulk, to ensure freshness. Make friends with a cheesemonger, or find a speciality cheese store. They can tell where the cheese is made, how old it is, the best way to store it and tips for serving it.
Always wrap your NZ cheese – waxed paper or baking paper are best but as many people don’t have that on hand, cling wrap is a good option too. Ideally soft cheeses, washed rind and blue cheese should be wrapped in waxy, grease-proof parchment or baking paper. While, hard cheeses like cheddar, can be wrapped in plastic, which will stop them from drying out.
Store your wrapped cheese in a plastic container, with a lid. Line the container with damp cloth or tea towel. Then clamp on the lid and put it in the top of the fridge – that’s where the temperature is usually the most constant, unless you have a freezer compartment above it – and it’ll keep very happily for as long as it takes to eat it all. If you’re really serious, you may choose to have a different plastic box for each type of cheese - one each for hard, soft and blue.
If you’re a real cheese aficionado, you may want to check the temperature of your fridge ensure it’s around the 5C-6C mark.
Remember to follow the best-before date for fresh cheeses, creme fraiche, yoghurt, mascarpone, mozzarella, ricotta and cottage cheese. For soft rind, washed rind and blue cheeses, the best-before date is only an indication, sometimes it might spoil before that date, or it may last a long time after.
Last is the most enjoyable part. Before indulging in cheese, or using it for cooking, it should be brought up to 20 degrees, or room temperature. Take it out of the container and unwrap it about an hour before you want to serve it.


